Building a calculator may seem like a simple task at first glance, but when you’re in the middle of a technical interview or honing your coding skills, it can be much more than that. Whether you’re preparing for a frontend developer interview or just looking to practice your JavaScript skills, this guide will walk you through how to build a calculator in JavaScript, from structuring the UI to implementing clean logic.
Hi, I’m Alex, a software engineer and passionate teacher. Today, I’ll show you how to build an interactive calculator project in JavaScript that mimics the functionality of a real-life calculator.
Why Build a Calculator?
Before diving into the code, let’s address why a simple calculator is a fantastic project for interviews and learning:
- Conceptual Simplicity: It’s perfect for coding challenges and interviews because it spans both UI and logic without overwhelming complexity.
- Practical Skills: This project teaches DOM manipulation, event handling, styling decisions, and algorithm writing.
- Real-World Problem-Solving: A calculator requires debugging edge cases like floating-point arithmetic problems, which mimics real-world development scenarios.
FAQ: How Difficult Is It to Program a Calculator?
Programming a basic calculator is beginner-friendly but introduces essential programming concepts like state management, conditional logic, and error handling. However, the difficulty may increase when incorporating advanced features like parentheses, percentages, or scientific operations.
Setting Up the Calculator’s Layout
The first step is to set up the structure and design of your calculator. We’ll use HTML and CSS to create a layout that mirrors a traditional calculator.
Basic HTML Structure
<div id="calculator">
  <div id="display"></div>
  <div id="buttons">
    <!-- Rows of buttons -->
  </div>
</div>
Styling the Layout (CSS)
#calculator {
  width: 300px;
  margin: 20px auto;
  background: #f3f3f3;
  border-radius: 15px;
  padding: 10px;
}

#display {
  height: 50px;
  background: #ccc;
  text-align: right;
  padding: 10px;
  font-size: 24px;
  border-radius: 5px;
}

#buttons button {
  width: 70px;
  height: 70px;
  margin: 5px;
  font-size: 18px;
  background: #ddd;
  border: none;
  border-radius: 10px;
  cursor: pointer;
}

#buttons button:hover {
  background: #bbb;
}
This gives us a nice calculator layout with a display area at the top and buttons underneath.
Mapping Buttons & UI Design
Now, we’ll create the calculator’s interactive buttons.
For simplicity, organize the buttons into a 2D array:
const buttons = [
  ["7", "8", "9", "/"],
  ["4", "5", "6", "*"],
  ["1", "2", "3", "-"],
  ["0", ".", "=", "+"],
  ["AC", "(", ")", "%"]
];
Iterate over this array to generate the buttons dynamically:
function renderButtons(buttons) {
  return buttons.map(row =>
    row.map(button => `<button onclick="handleClick('${button}')">${button}</button>`).join("")
  ).join("<br/>");
}

document.getElementById("buttons").innerHTML = renderButtons(buttons);
Image Prompt
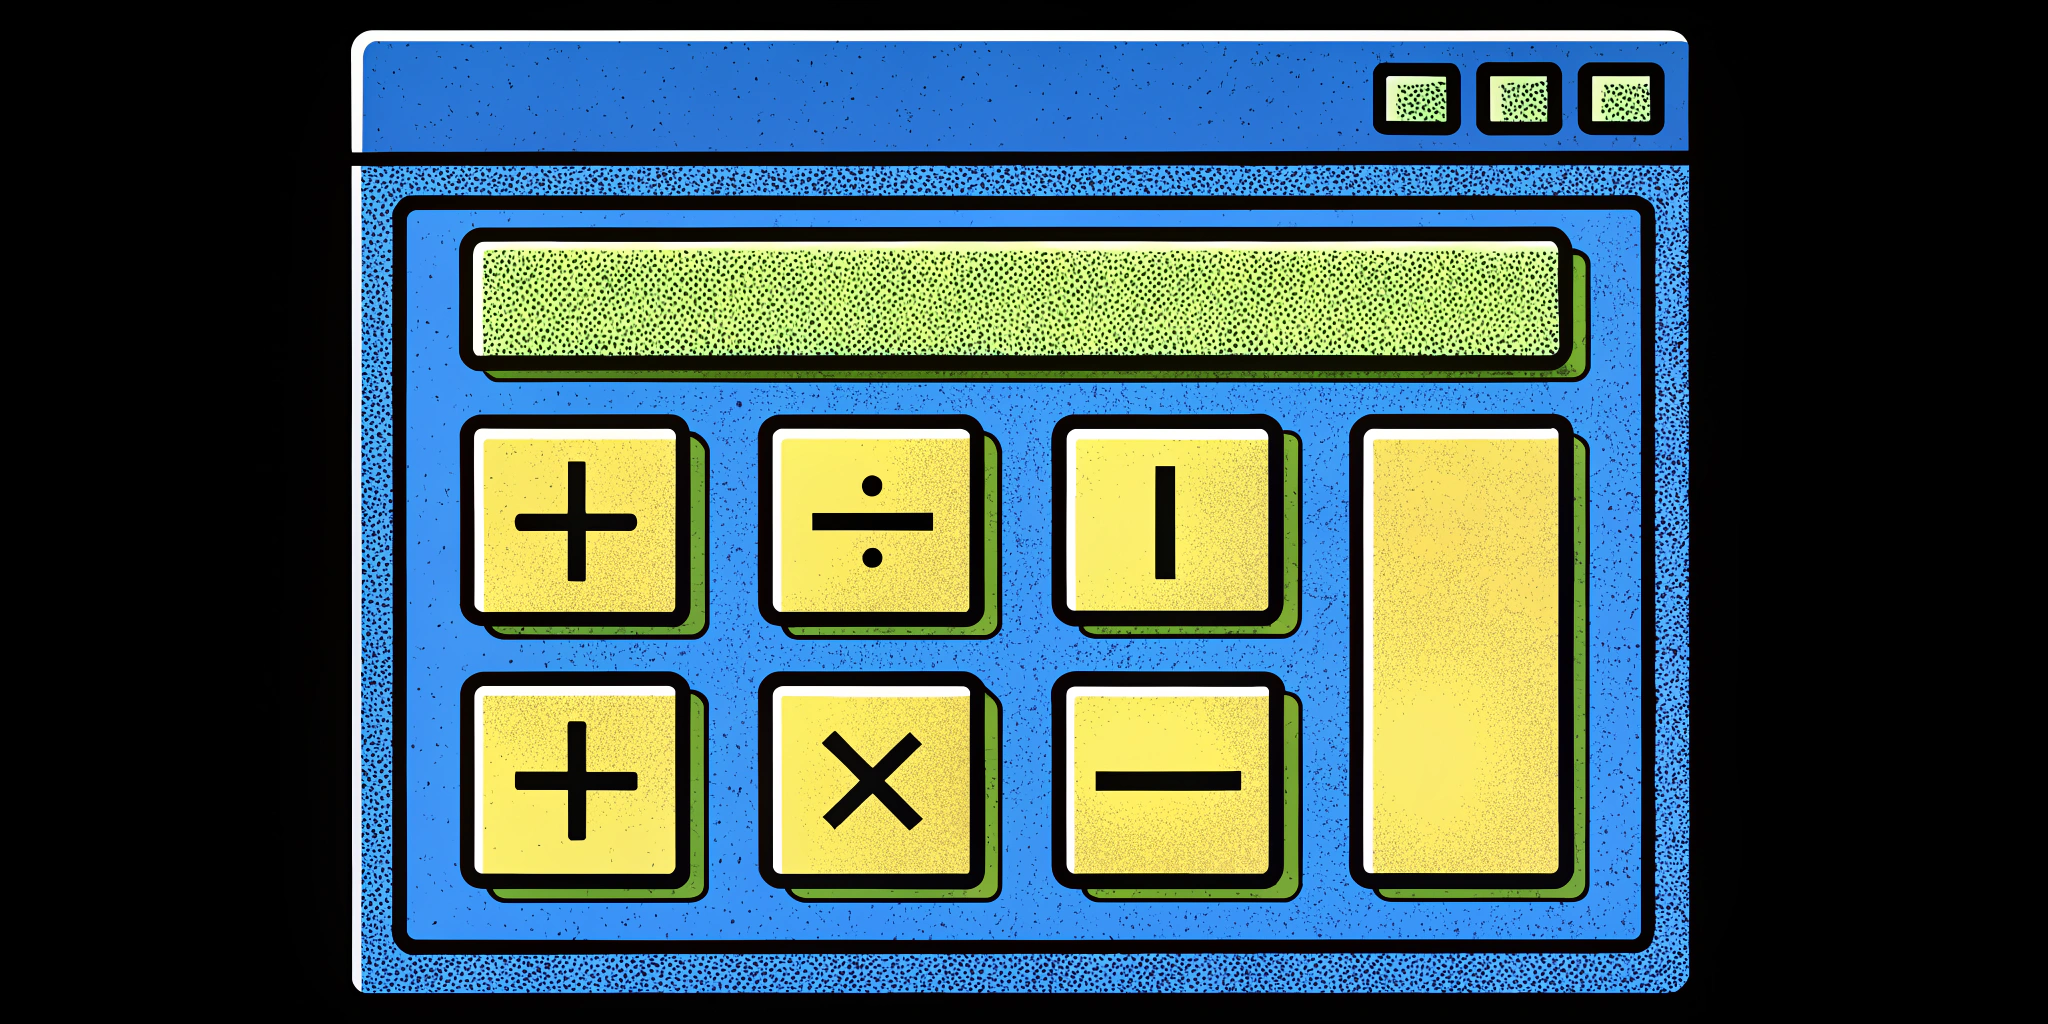
Show a calculator layout where the numeric buttons (7, 8, 9, etc.) are dynamically generated alongside operators (+, -, /, *) neatly arranged in rows.
Implementing Core Calculator Logic
Once the UI is set, the heart of the application lies in its logic. Here’s where we manage input and perform calculations.
Handling Button Clicks
We’ll use JavaScript to handle the button clicks and update the display:
let displayValue = "";

function handleClick(button) {
  if (button === "AC") {
    displayValue = ""; // Reset display
  } else if (button === "=") {
    try {
      displayValue = eval(displayValue); // Evaluate string
    } catch (error) {
      displayValue = "Error";
    }
  } else {
    displayValue += button;
  }

  updateDisplay();
}

function updateDisplay() {
  document.getElementById("display").innerText = displayValue;
}
But wait—I used eval()! Is that bad?
The Problem with eval()
While eval is quick and convenient, it’s not secure or recommended for production. If your calculator receives malicious input, it could execute dangerous scripts. A better approach is to parse the input manually or use a library like Math.js.
Resolving Floating Point Issues
A common problem in calculators is floating-point arithmetic errors, e.g.:
0.1 + 0.2; // 0.30000000000000004To fix this, we round the output to a fixed number of decimal places:
function calculate(expression) {
  const result = eval(expression);
  return Number.isFinite(result) ? parseFloat(result.toFixed(10)) : "Error";
}
Adding Maximum Digits Constraint
To ensure the display doesn’t overflow:
const MAX_DIGITS = 12;

if (displayValue.length > MAX_DIGITS) {
  displayValue = "Overflow";
}
Polishing the Calculator
A calculator is about user experience. Here are a few enhancements:
- Stylish Feedback: Add hover and active states to buttons.
- Error Handling: Clear “Error” when the user presses another button.
- Responsive Design: Make the calculator work across devices with CSS flexbox.
- Extras: Include features like percentage, brackets, or “power of” (2^x) operations.
Key Considerations for Interviews
When asked to create a calculator in an interview:
- Ask Questions:
- Should it handle scientific operations?
- Should the
ACbutton clear the entire display or just the last character?
- Highlight Potential Issues:
- Explain floating-point precision errors upfront.
- Discuss your approach to handling edge cases.
- Focus on Clean Code:
- Keep your functions modular.
- Avoid hardcoding repetitive logic; use arrays and
map()instead.
Using platforms like Ninjafy AI can help you simulate such interview scenarios and refine your responses.
Conclusion
Building a calculator in JavaScript is more than a practice project—it’s an opportunity to demonstrate critical coding concepts, clean UI implementation, and proactive problem-solving. Whether you’re preparing for a coding interview or brushing up your JavaScript skills, projects like this go a long way.
If you’re planning to ace frontend interviews with React, check out our guide on Building a Calculator in React for advanced techniques.


